This shop has been compensated by Collective Bias, Inc. and its advertiser. All opinions are mine alone. #RethinkYourColour #CollectiveBias
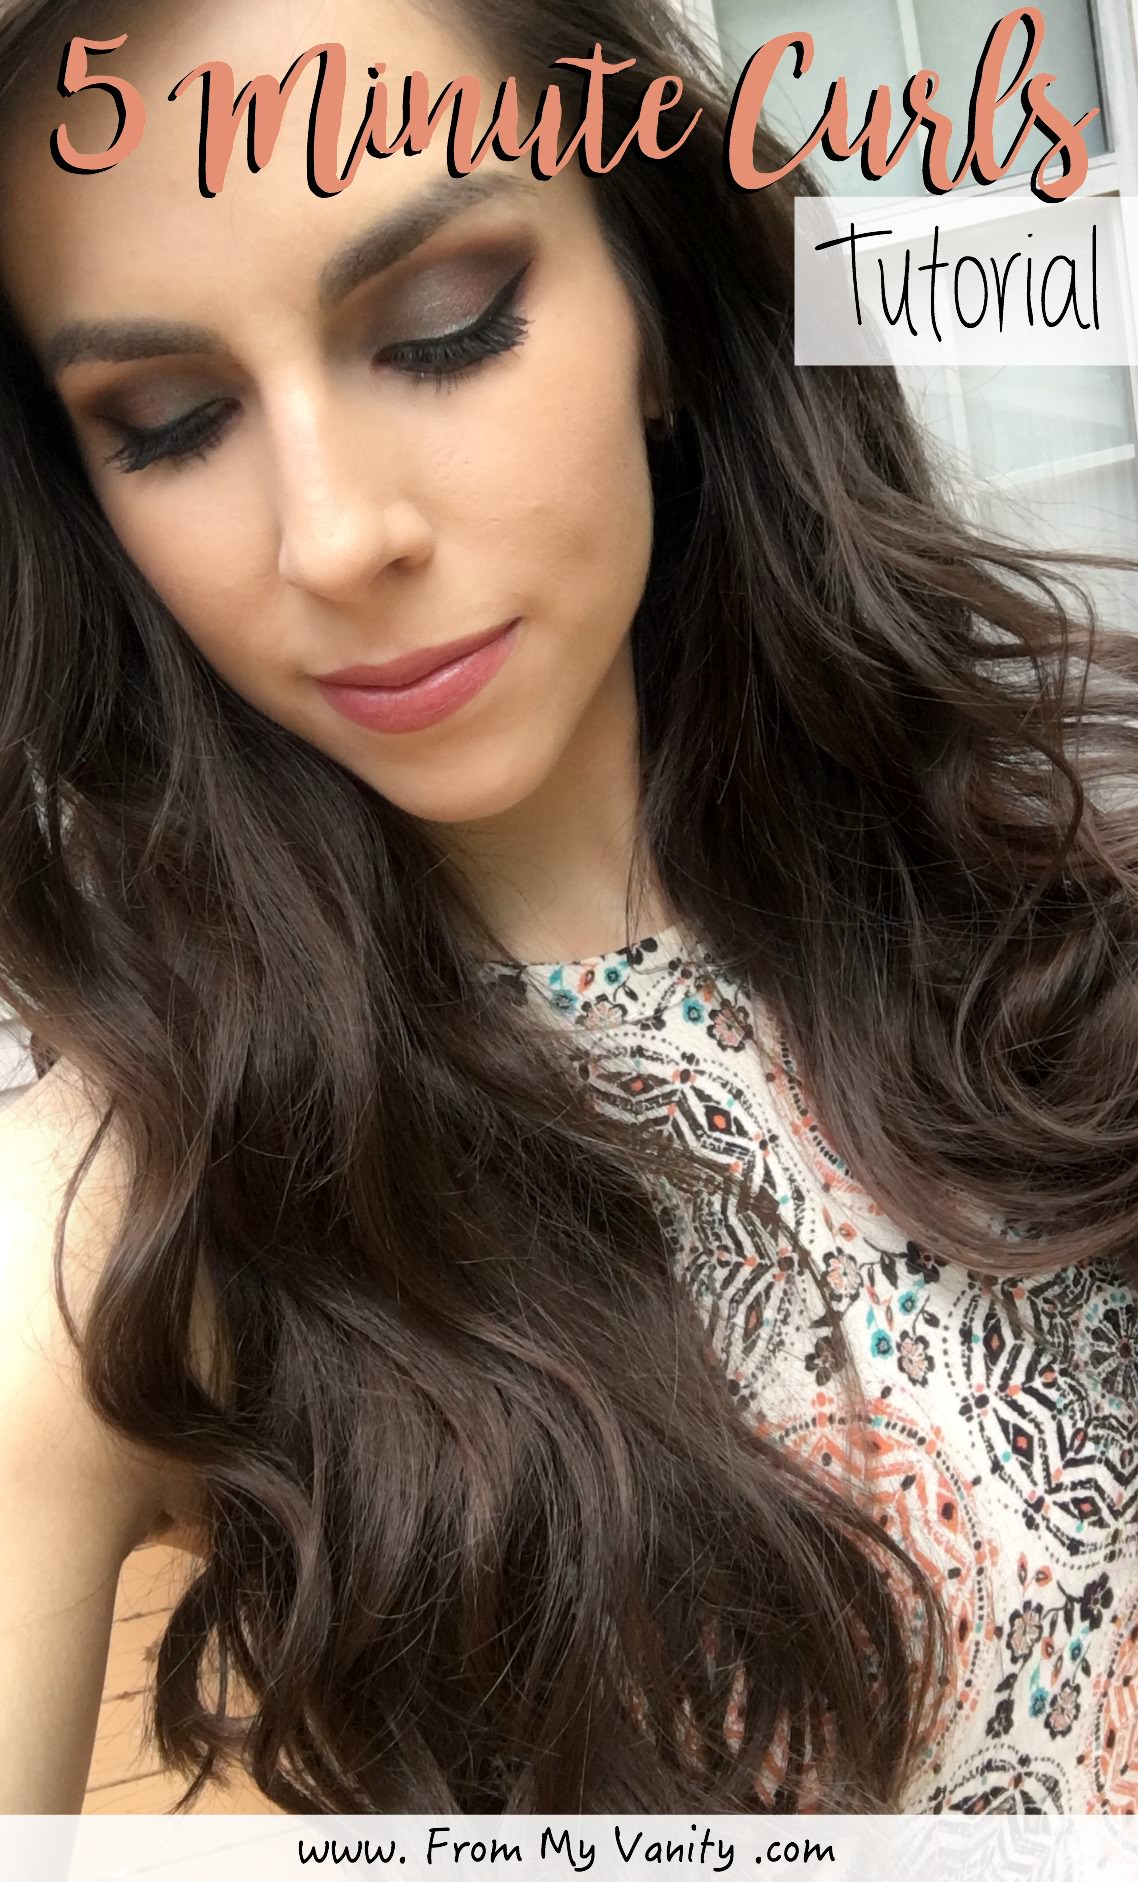
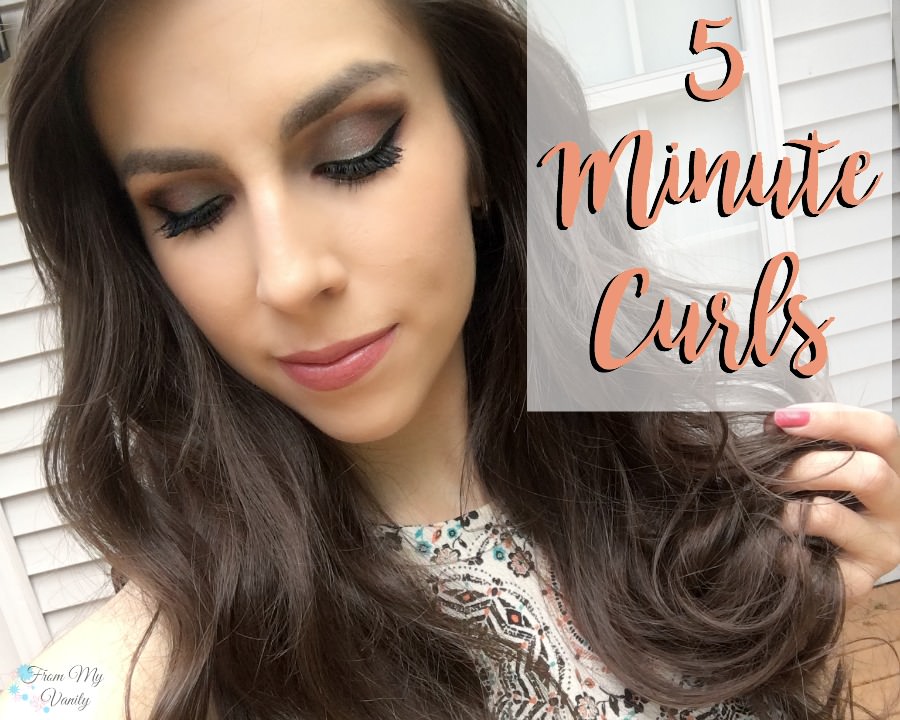 I finally tested one of those beauty hacks on Pinterest to see if it really works….and it does — I’m able to get voluminous, bouncy curls in just 5 minutes flat! That says a lot coming from this gal who is half Brazilian blessed with long, thick hair! Typically, it takes me 20-30 minutes to curl my hair. Plus one aching neck and two tired arms! 😉 So, if you’re curious what hack I’m talking about, just keep reading to see how to get these 5 minute curls!
Sign Up for Monthly Beauty News!
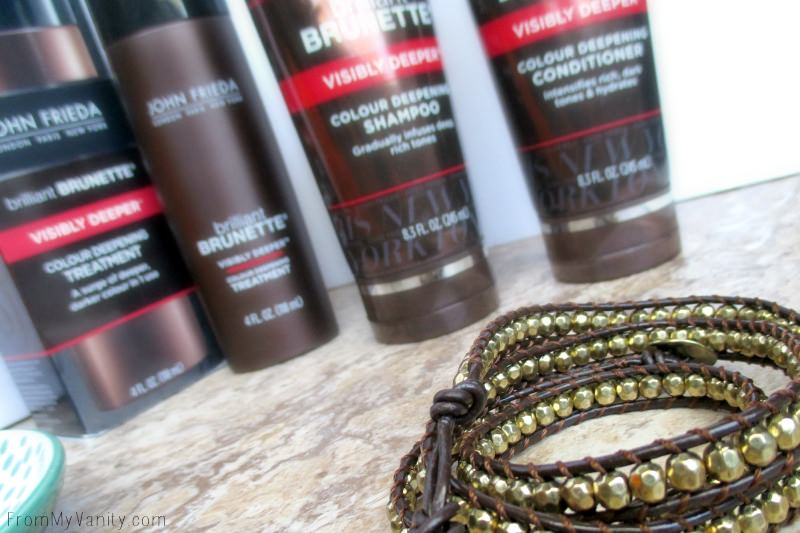
If you recall two weeks ago I shared with you that I wanted to give my hair a subtle color change without going to a salon (this new Mama can’t fit that in!). I used all three of these John Frieda products — the Brilliant Brunette® Visibly Deeper™ Colour Deepening Shampoo, Brilliant Brunette® Visibly Deeper™ Colour Deepening Conditioner, and Brilliant Brunette® Visibly Deeper™ Colour Deepening Treatment — and I am very pleased with my results!
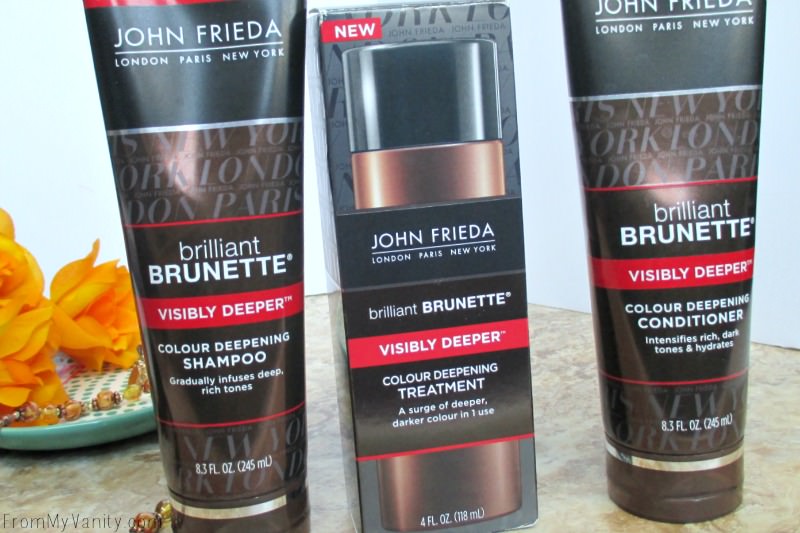 These products can be found at your local Walmart, but I have heard that the Colour Deepening Treatment is difficult to find on the shelves. If that’s the case for you, be aware that it’s still available on their website. As a word of warning, though, that while I liked the results, be prepared for your hands to be slightly stained for a little while after you step out of the shower from using these products. 😉
5 Minute Curls Tutorial
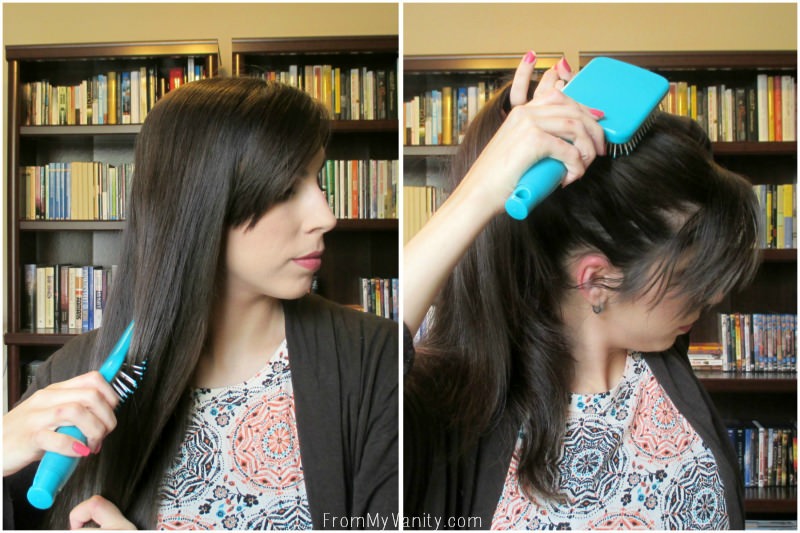 Step 1 // Brush out any tangles. Never a good idea to apply heat to knots. 😉
Step 2 // Using the brush, sweep all your hair upwards toward the top of your head.
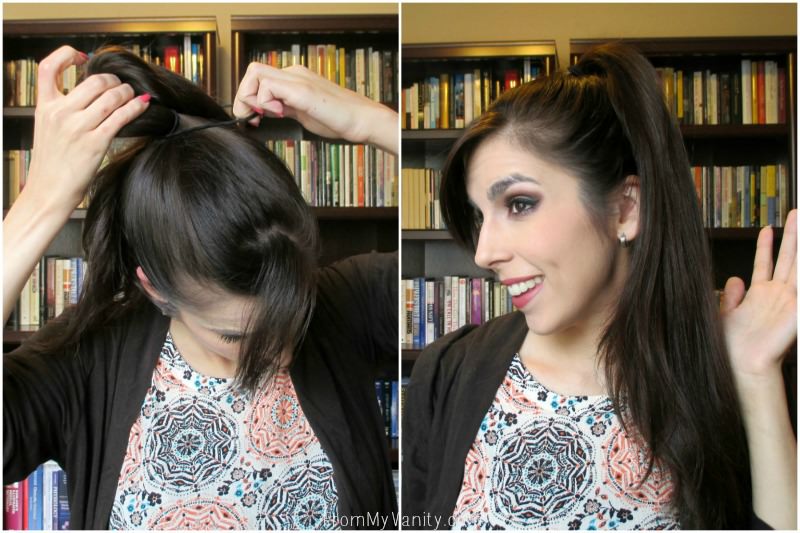 Step 3 // Tie it securely with a hairband. We’re all girls here, so I’m safely assuming we all know how to do this. 😉
Step 4 // The height of your ponytail depends on the type of curls you want. The higher up on your head, the tighter the curl will be by your face. The farther back on your head, the more relaxed your curls will look.
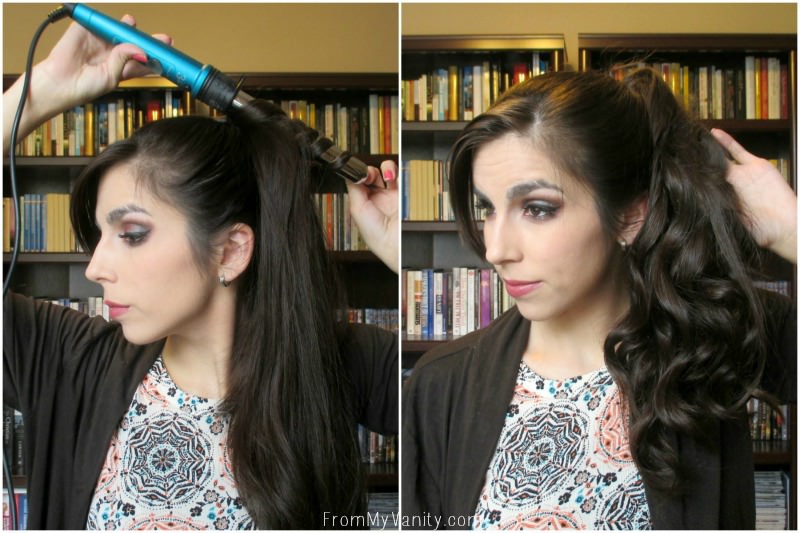 Step 5 // Curl! I life using a clipless curling wand, but whatever is your preference. I took about one inch sections of hair, but you could take smaller for a tighter curl, or more chunks for a more loose, wavy look.
Step 6 // Doing all my hair took just over 5 minutes. To be exact, 5 minutes and 21 seconds — but it’s still 5 minutes, haha. And keep in mind that I have long, thick hair. If your hair is shorter/thinner or you want to take larger sections, it may take even less time.
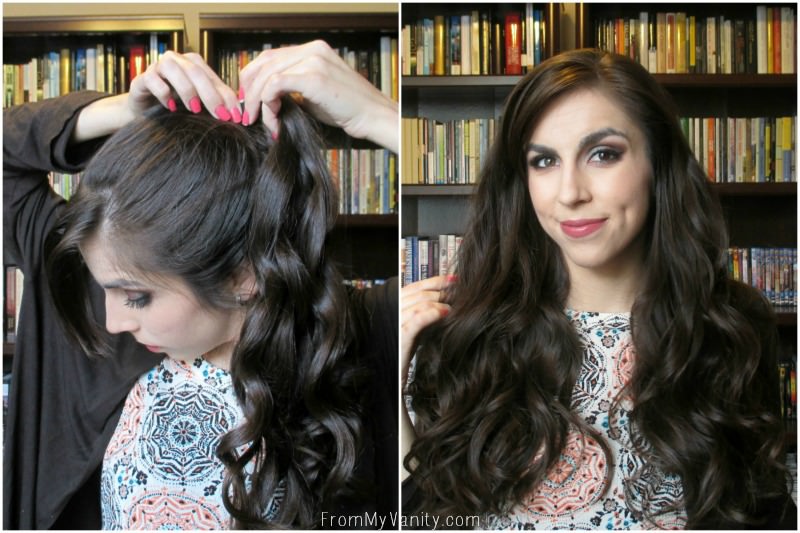 Step 7 // Remove the hairband. Again, I don’t need to elaborate. 😉
Step 8 // Run your fingers through your hair to relax and mesh all your curls for a more natural finish. And you’re done – 5 minute curls….check!
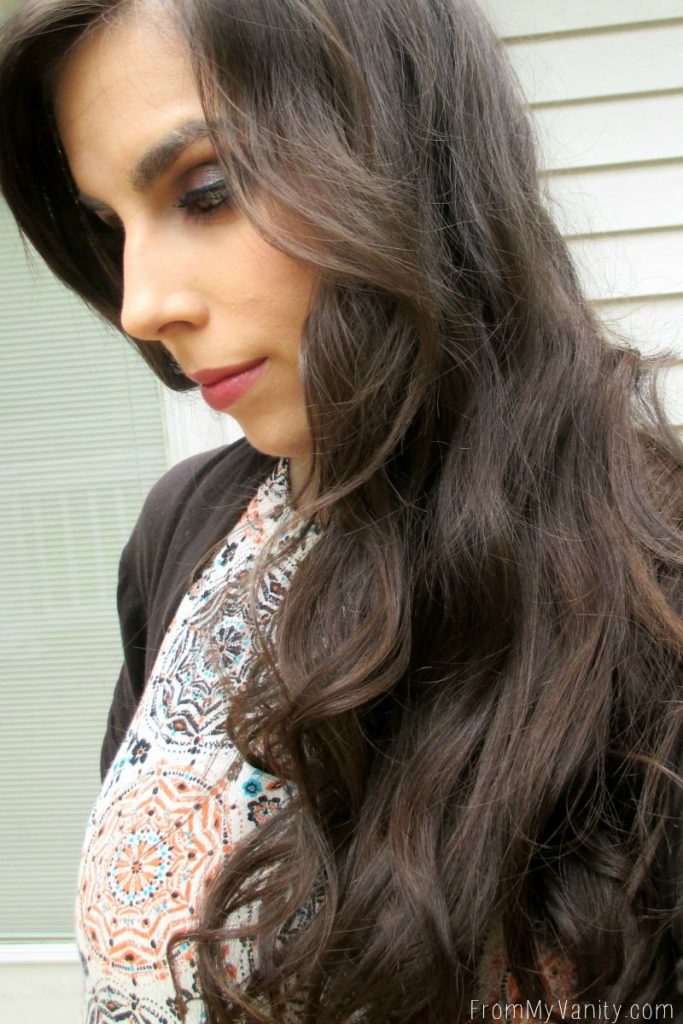 That’s seriously all there is too it and these are the results — bouncy, 5 minute curls for this hair extenstion ! I loved, loved, loved them and will totally be using this easy hack from now on. It saves so much time, and I can always use a few extra minutes to wing out my eyeliner. 😉
 I would love to hear if you can tell a difference between the color of my hair in this post, and Pinterest. It might be hard to detect in pictures, but I definitely can tell it’s deeper in person!
Oh, also, don’t forget to let me know if you would ever try this type of at-home, in-shower treatment to deepen or lighten the color of your hair. I love the ease and convenience these John Frieda products give me!
Loved the tutorial? Pin it!
This post has been compensated by Collective Bias, Inc. and its advertiser. Thank you so much for helping to support From My Vanity through subscribing, reading, and clicking! All opinions expressed in this post are 100% mine.  Any questions about my disclosure, read here.
