I’ve been looking forward to today’s post for a while now, and am so excited to finally share the news! I’ve been working with a lady at NuMe Products and we’ve come up with an exciting series that will be featured on my blog every Friday until my wedding at the end of April! The series, as you’ve probably guessed from the title, is going to be called “Hairstyling with NuMe”!
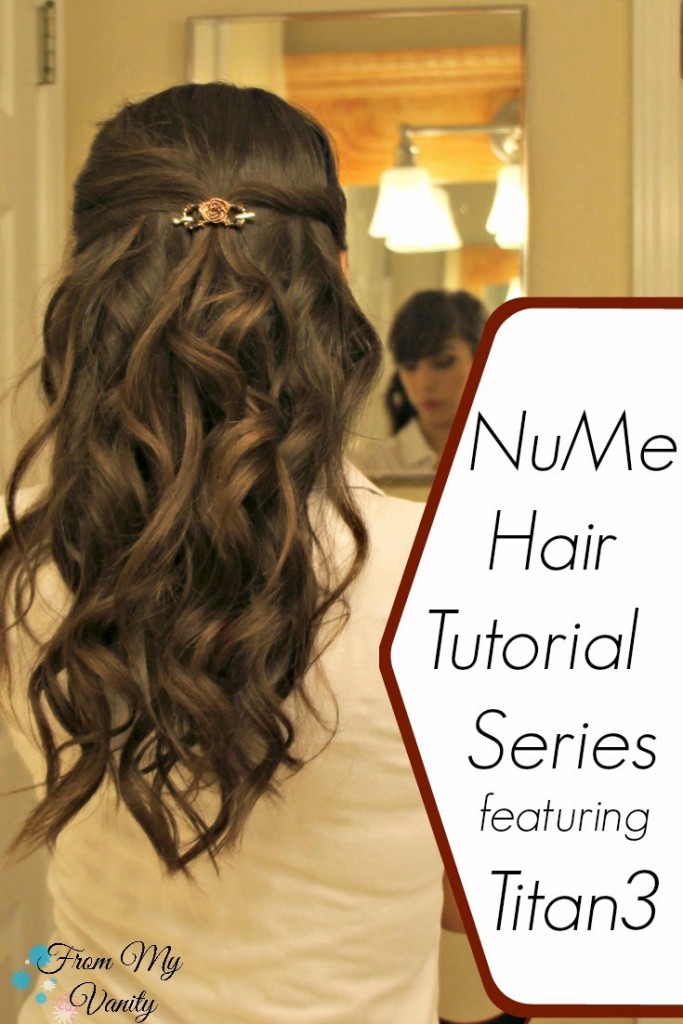
I showcased the flat iron I purchased and the curling wands NuMe sent me for this series on Monday. For today’s post I’m going to be using NuMe’s Titan3 curling wand to show you how to curl your hair. I know this is pretty basic, but once you know how to curl with these wands, you’ll be able to spice up your curls very easily. 🙂
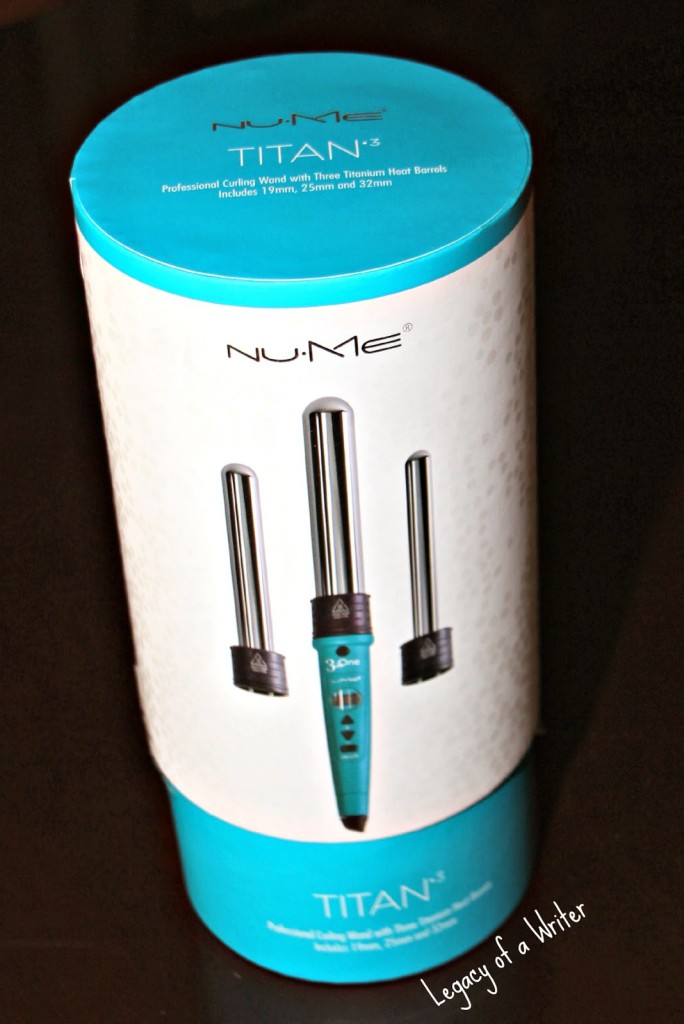 The beauty of NuMe’s wands are that they use the latest in digital and titanium technology — and they’re made from 100% titanium. The wand has digital temperature control ranging from 122 – 392 degree’s — which is all you need to curl your hair. The barrel’s use Infrared Heat and Negative Ion technology, ensuring that your hair stays as healthy as possible. With three barrels to choose from and with it’s ergonomic, sleek design, the variety of designs you can do with these curls are endless!
Make sure you stay till the end of the post…there’s a special surprise for you all!
Alright, let’s dive into this tutorial! 🙂 This is my first time doing a tutorial for my blog, so I hope y’all will stay patient with me as I learn the ropes.
Curls with Titan3’s 25mm Wand
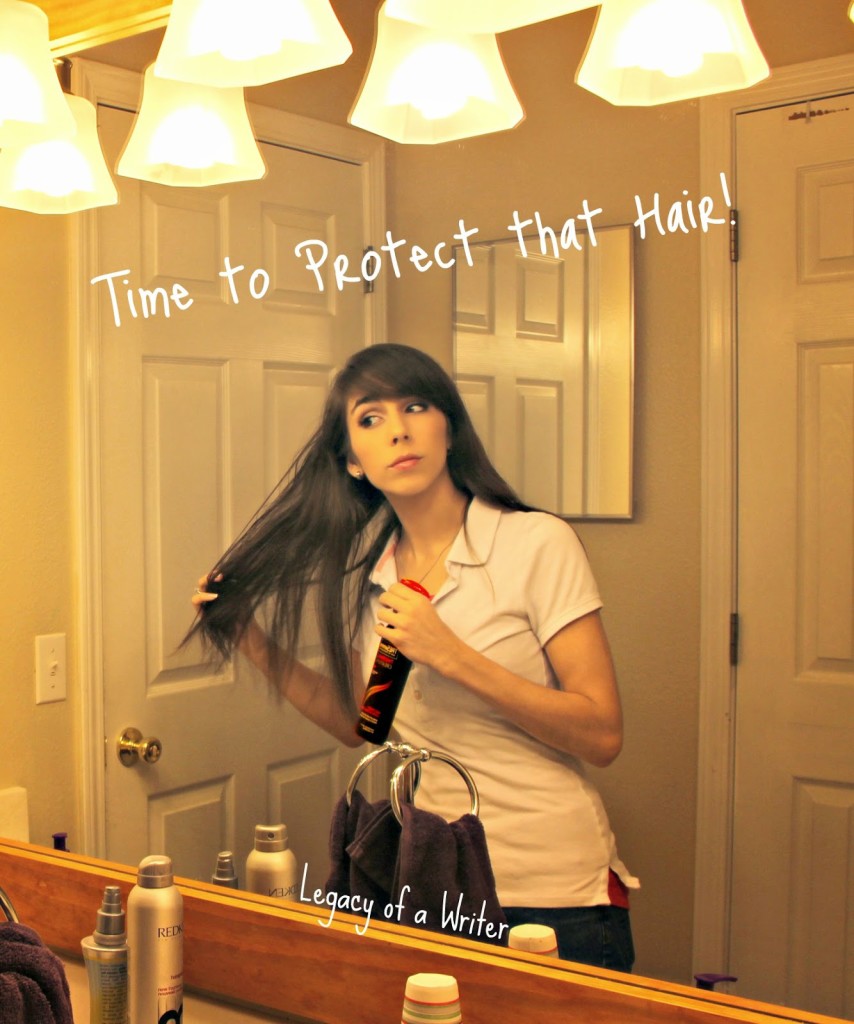
I’m currently using the TRESemme Thermal Creations Heat Tamer Protective Spray. I apply this liberally throughout my hair and then use a brush to make sure I’ve distributed the product throughout my hair evenly. I give my hair a few minutes to let the product soak in and to ensure that my hair isn’t wet when I begin heat styling — that can lead to fried hair!
Step 2: Section Off Your Hair
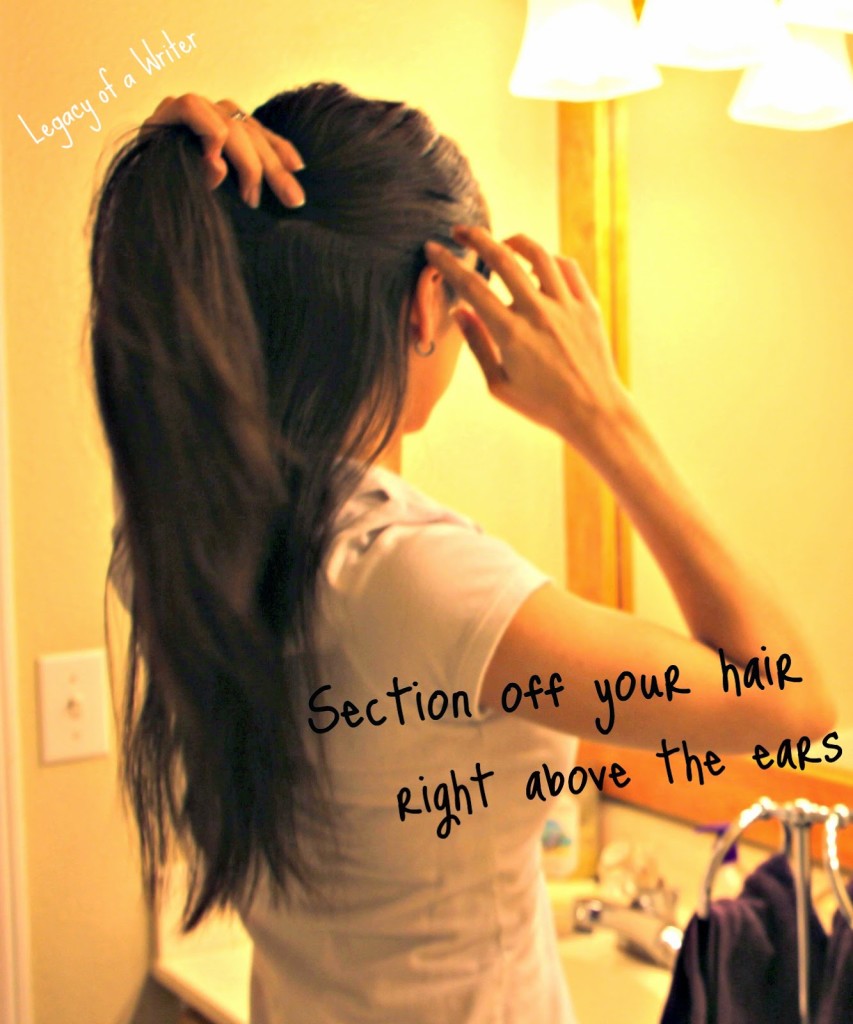
Because I have thick, long hair, I always separate my hair into three sections. The first section I go right above the ears. Then I clip it up with a hairclip (any ol’ clip will work! 🙂 and give the first section of hair another good brush-through. The key to smooth, flawless curls is to make sure your hair is tangle-free and kink-free. These are what causes curls to come out wonky or look frizzy. 🙂
Step 3: Curl a 1″ Strand of Hair
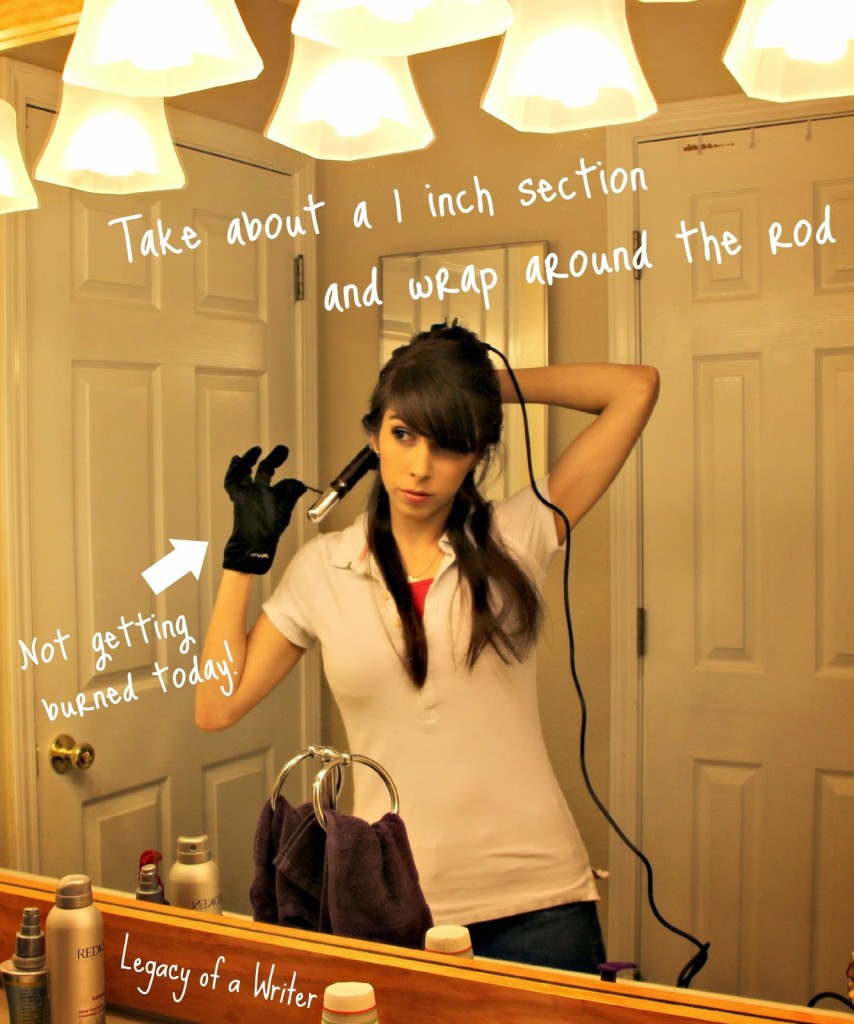
Using the handy glove that NuMe supplies with this curling wand set, I took my first section and wrapped it around the rod. Now, for the pictures, I keep my hands away from the rod (so you could see what I was doing), but I actually like to almost hold the hair around the rod, that way the ends have a nice curl pattern to them as well. This is why the black NuMe glove is so nice — I have a lot more control, being able to touch the barrel without encountering dire consequences. 😉
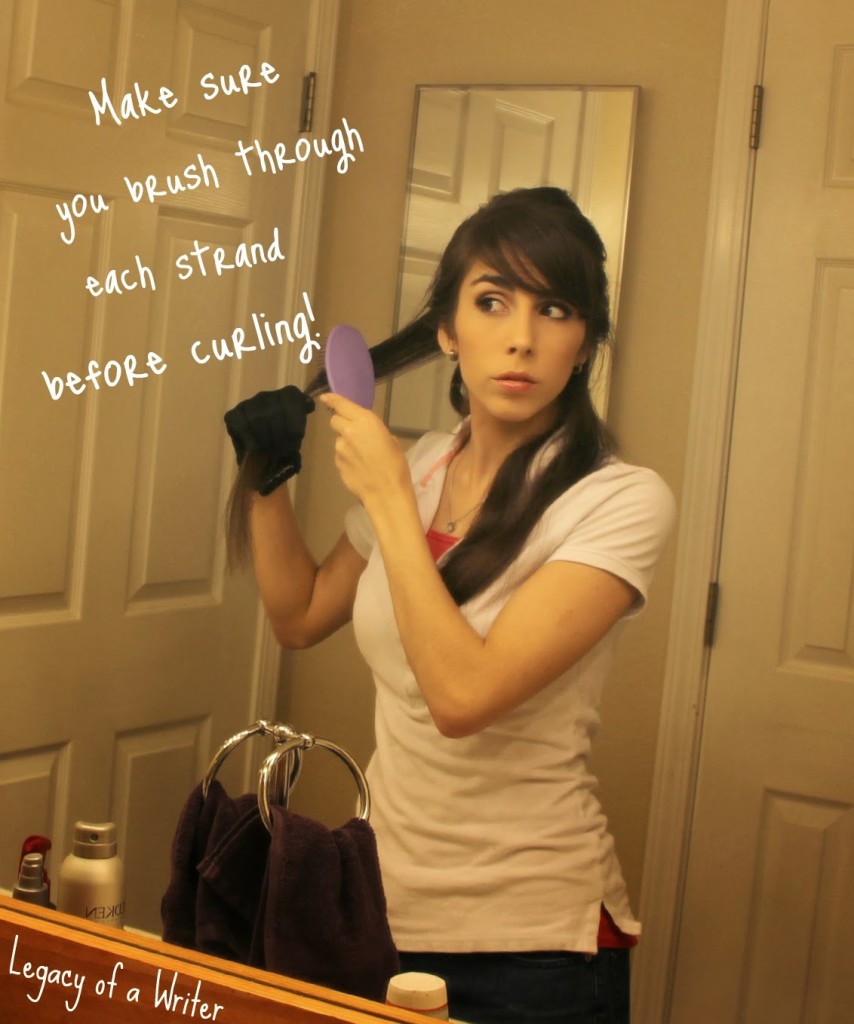
I’ve already explained why in step 2, but just a reminder — give your hair a comb (I like to use the wet brush) through before doing each curl. It helps!
Okay, so I hold the hair for about 5 seconds, give or take. It really just depends on the thickness of the strand I’m holding. That’s why I like to have my hands on the barrel — when I feel my hair heat up (which, literally, takes less than 5 seconds), I’ll give it a count and then slide it off. If you have easy-to-curl hair, than you probably wouldn’t have to hold it on as long. But for my hair, if I don’t get a good amount of heat to help mold my hair into the desired curl pattern, it will fall within the hour.
Step 4: Cool the Curl in Your Hands
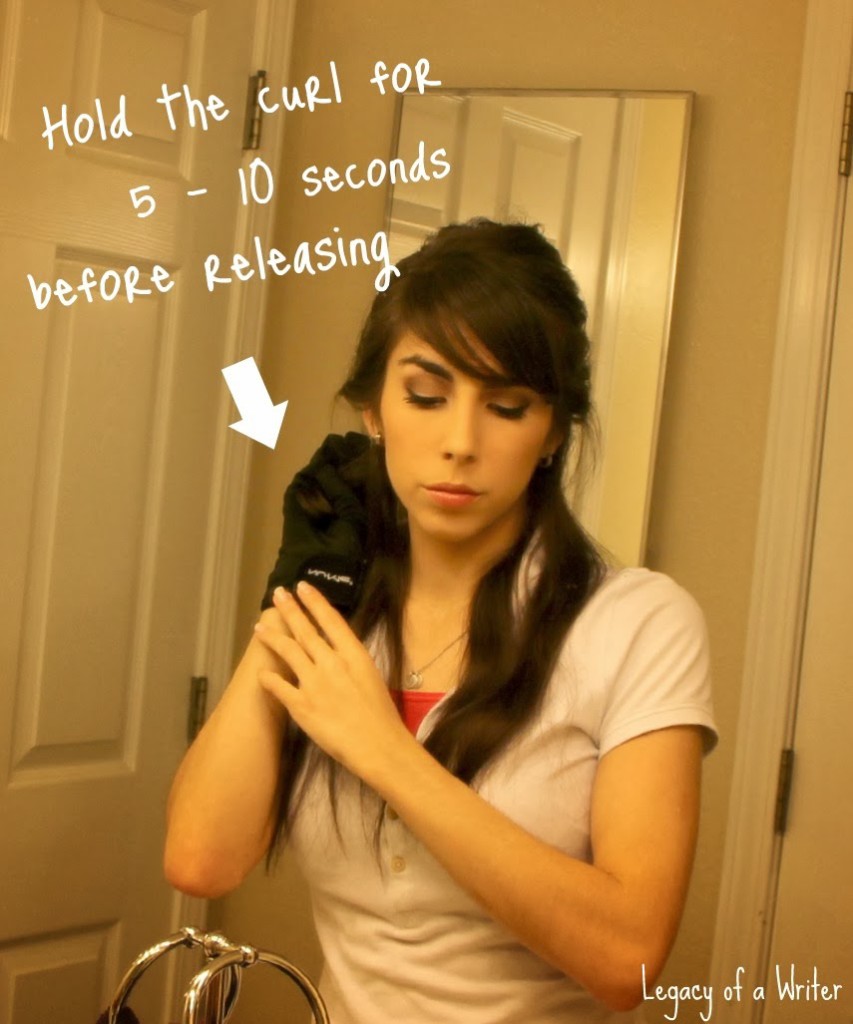
Nothing too fancy here, I just let the curl sit in my hand for 5 or 10 seconds before releasing it. If you have thin or fine hair, you could probably skip this step. But if you have thick hair or hard-to-curl hair, letting the curl cool all wound up will lock in the curl pattern better than if you let it fall, start to straighten, and then cool. I hope that makes sense. 🙂
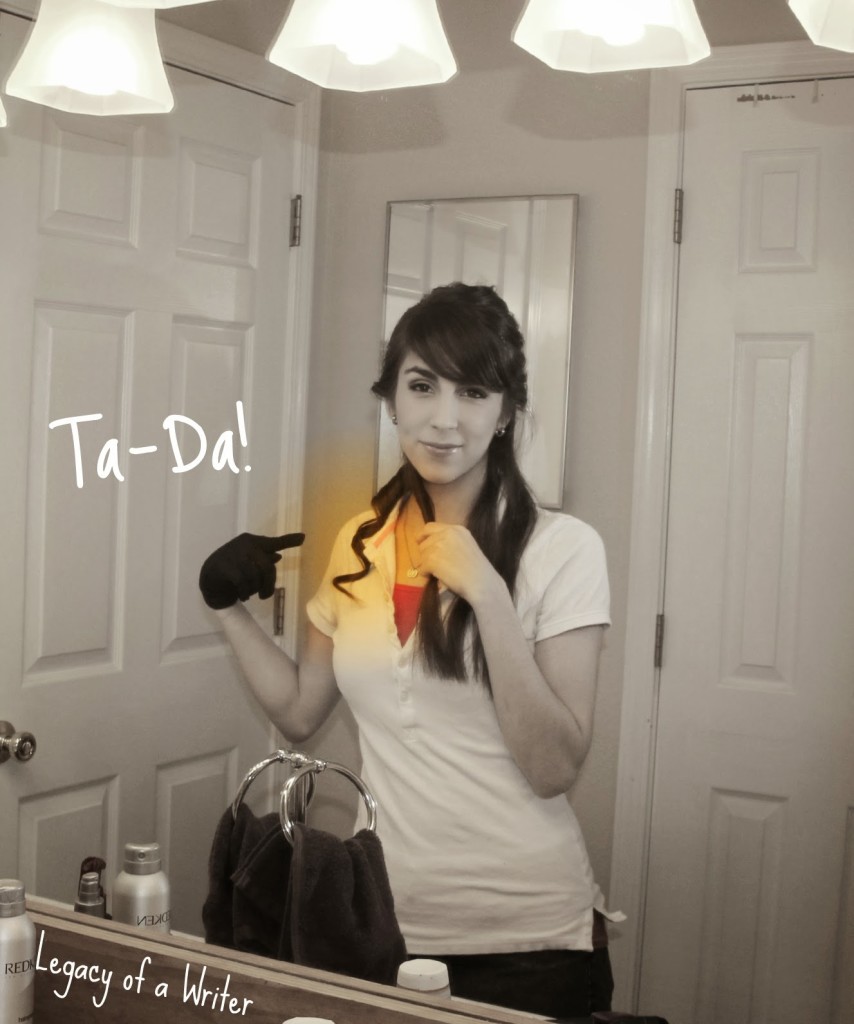
And there you have it, the first curl, all purty-lookin’!
Step 5: After Curling the First Section, use Some Hairspray!
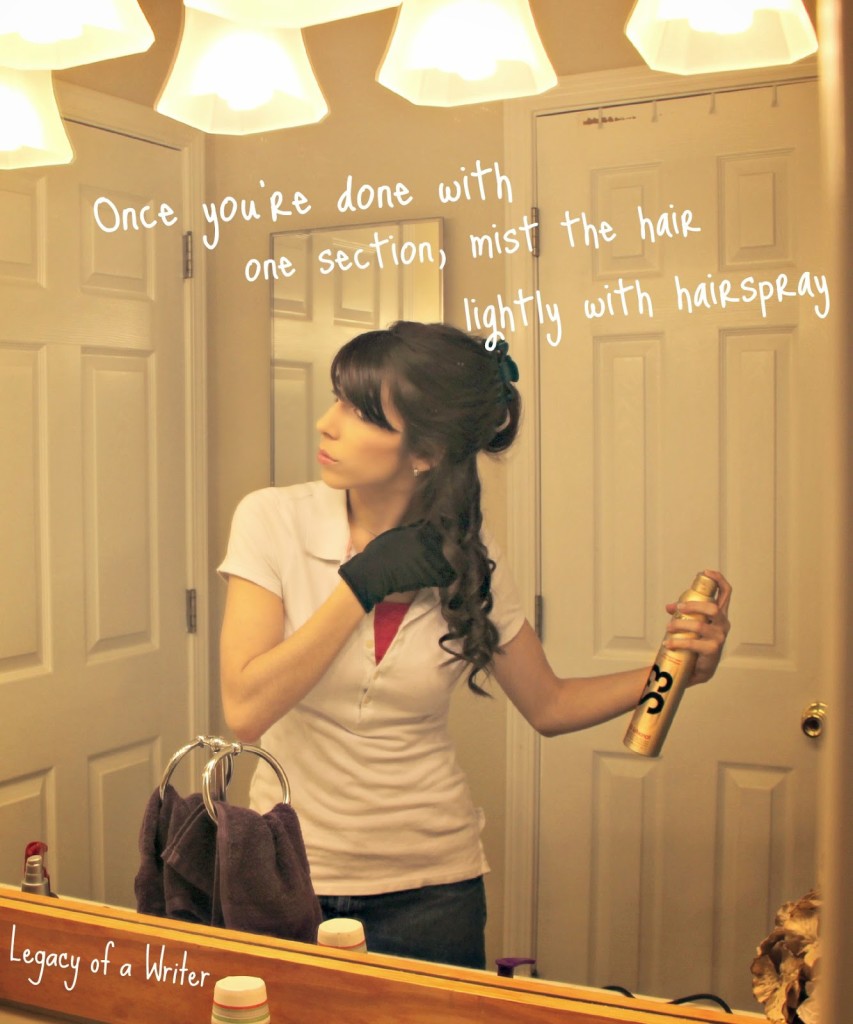
This helps to lock in the curl pattern as it finishes cooling. (Again, this is really important for hard-to-curl hair…like mine. 😉 Here I’m using the Redken Forceful Finishing Spray. It works really well — leaves the hair a little sticky if you use too much, but a light misting is all you need. 🙂
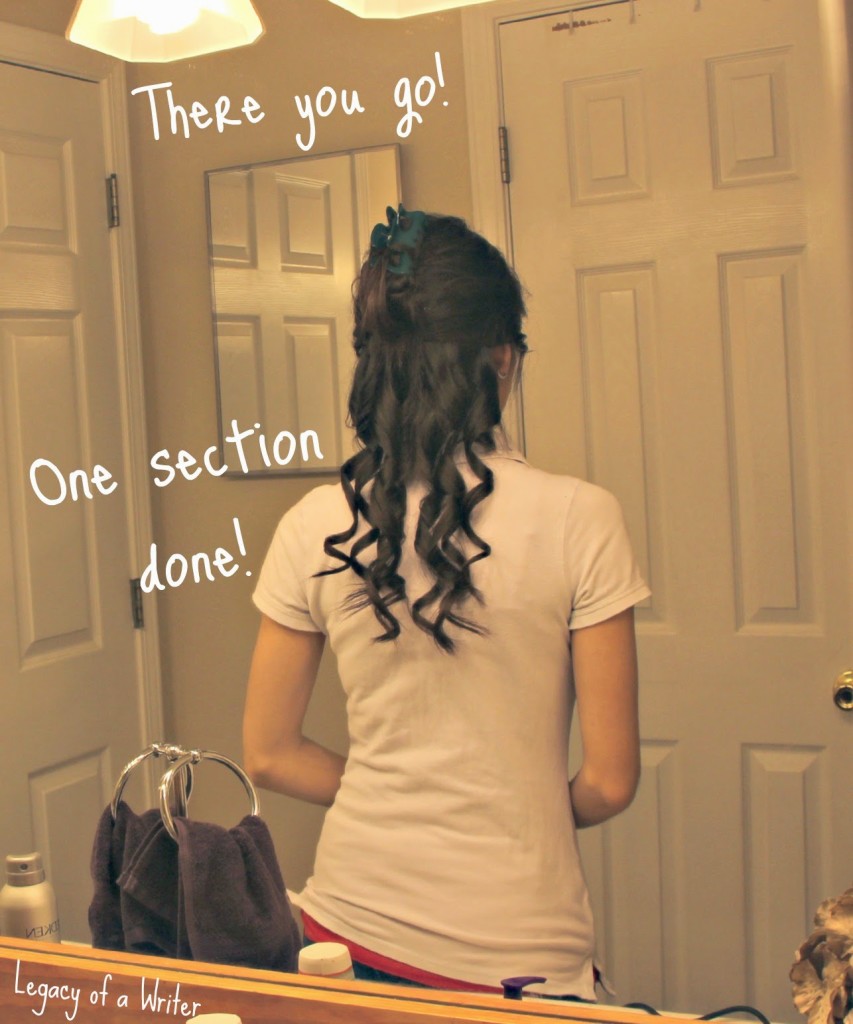
And there you go, one section complete!
Step 6: Section off the Next Part
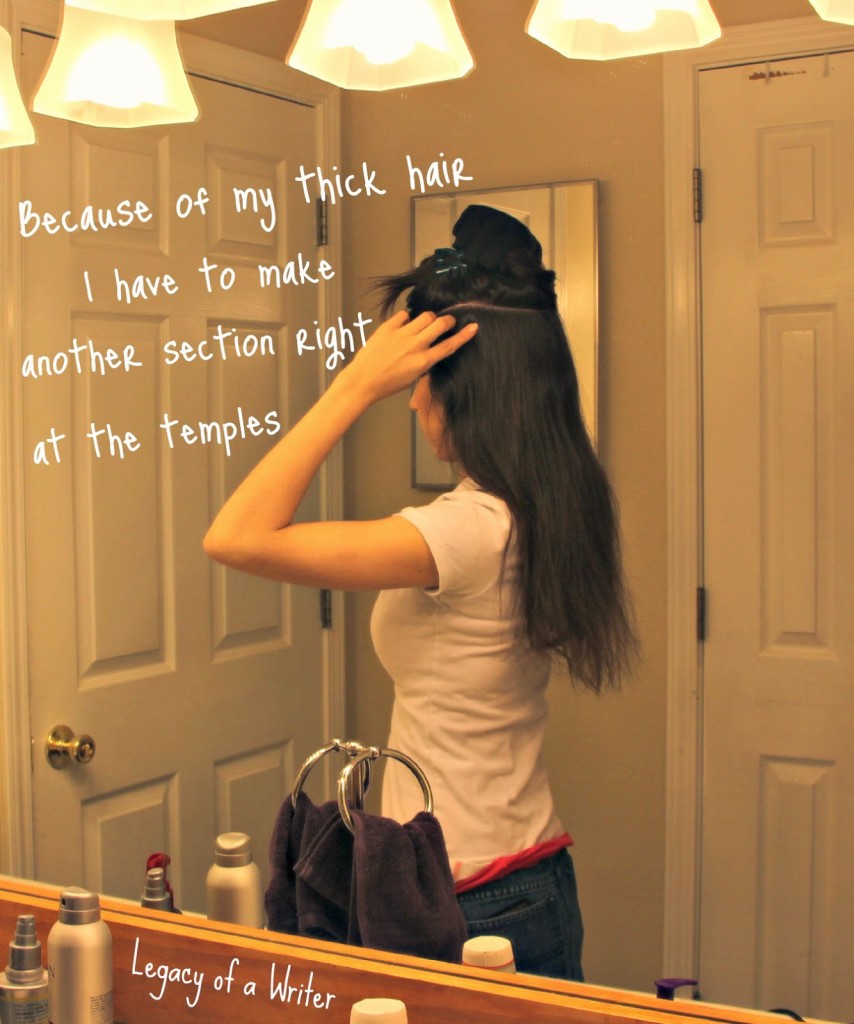
If you have fine hair, you could probably let your hair down and just do one more section. But for me, I have to do 3 sections total, so here I’m separating my hair right at the temples and clipping up the remaining section of hair.
Step 7: Keep Curling!
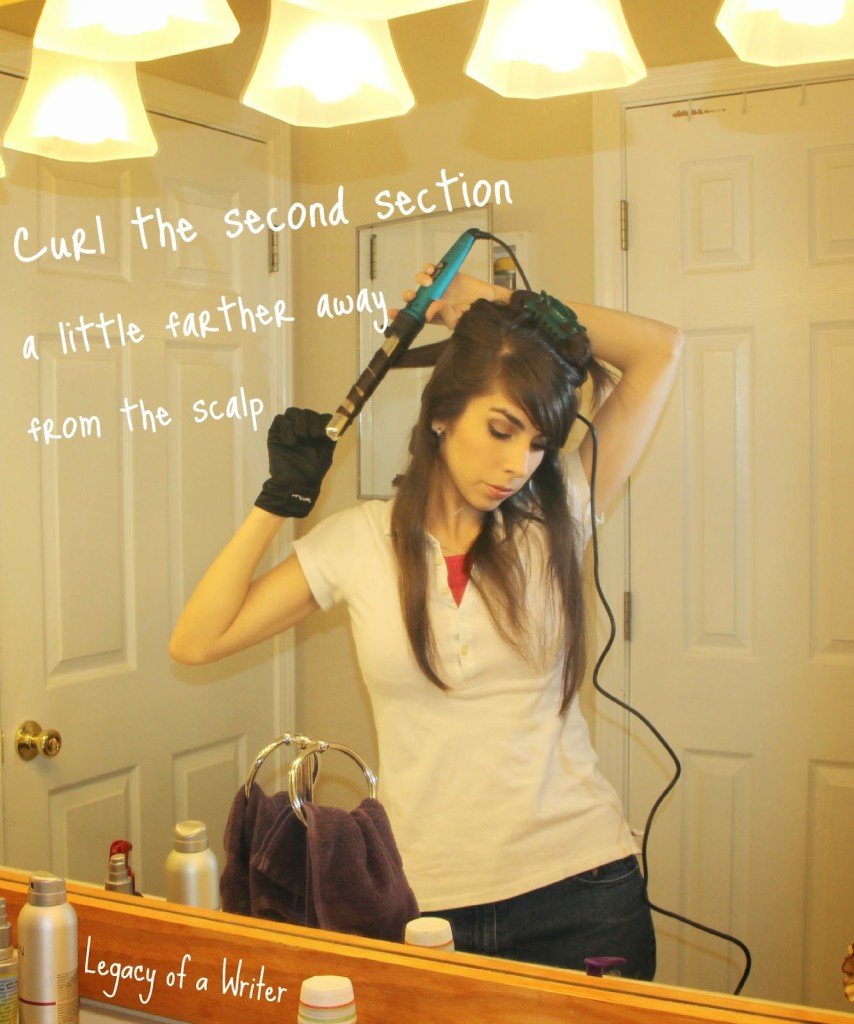
Just curl the next section, same as before. I keep the wand a little farther away from the head, as it will end up giving you a more natural curled look to your hair, instead of having curled hair all the way to your roots.
Also, I’m switching up curling sections toward my face and away from my face. This is my personal preference, as I like to have curls that are separate and defined, instead of having them all go one direction and clump together. This is entirely your own personal opinion about how you like your hair to lay. For me, I like to switch up the curl pattern. 🙂
Step 8: Spray Each Section as You Go
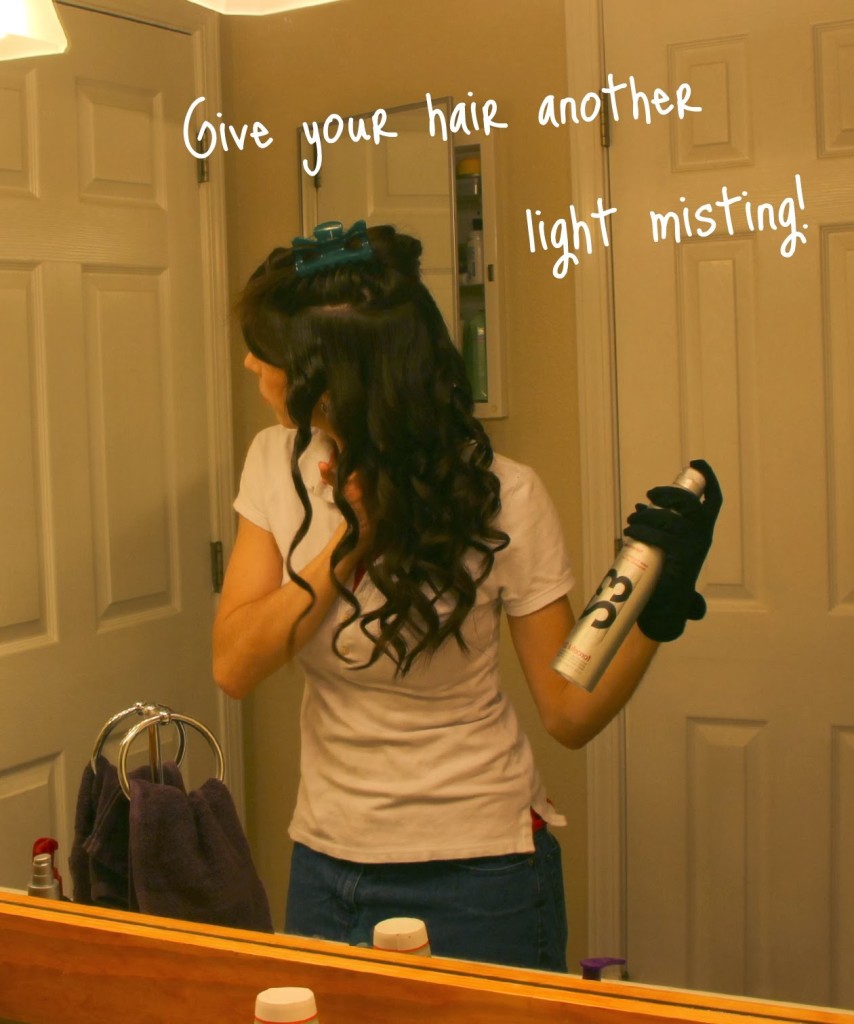
Each time you finish a section, give your hair a mist of hairspray. And for those with thick hair, go ahead and finish up the last section of hair at the top — staying a little farther away from the root of the hair strand, like you did in the second section.
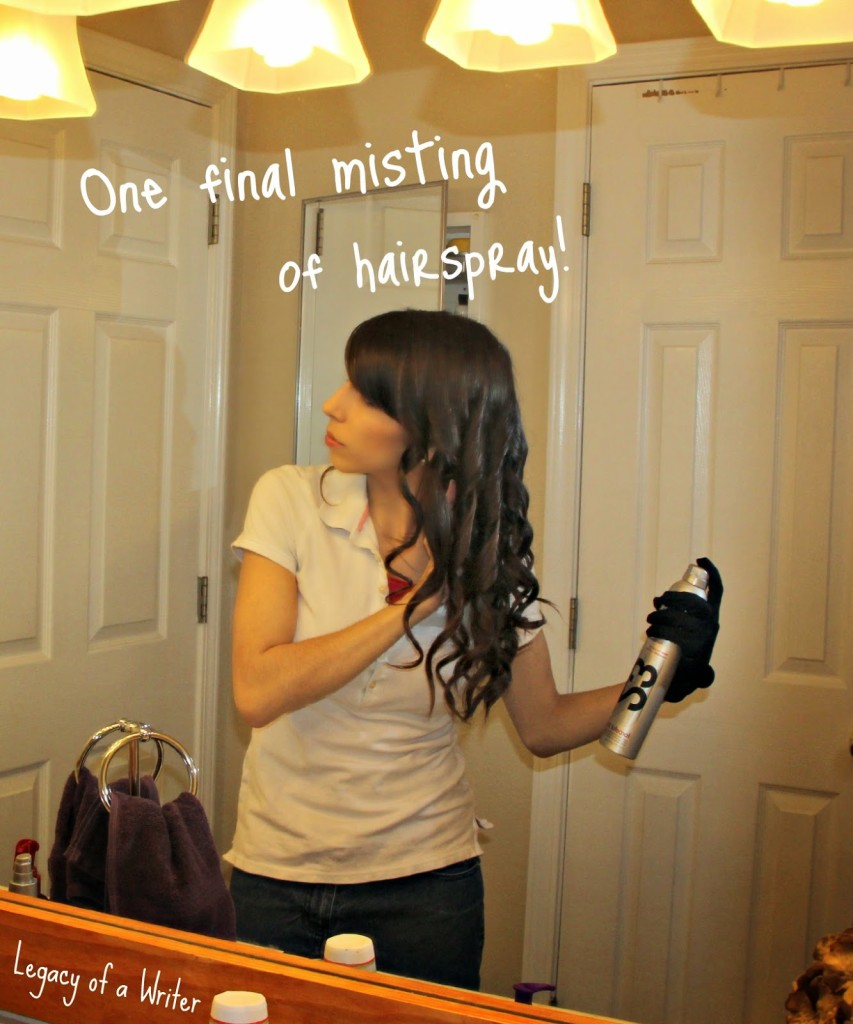
Yep, once you’re done, give it another quick spray! (can you tell I have a history of stubborn hair?? 😉 Speaking of which, if your hair is really easy to curl, don’t feel like you have to layer on the hairspray! 😉 But I just wanted to include these tips so that if anyone out there is having trouble getting their curls to last, these tips might help. (And a good curling wand, that helps, too! 😉
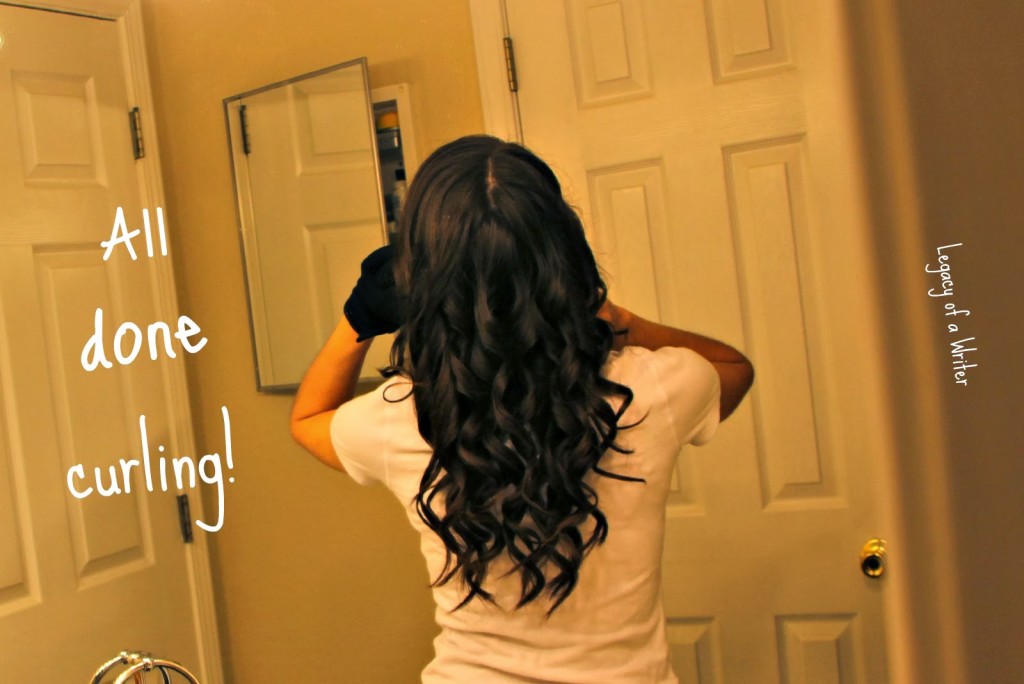
There you are! A head full of curls! 🙂 Now, don’t touch your hair! Let it cool for at least 5 – 10 minutes. This is important! It will allow your hair cuticle to cool and close on the new shape of your hair strand, and therefore last a lot longer.
Step 9: Break Up the Curls
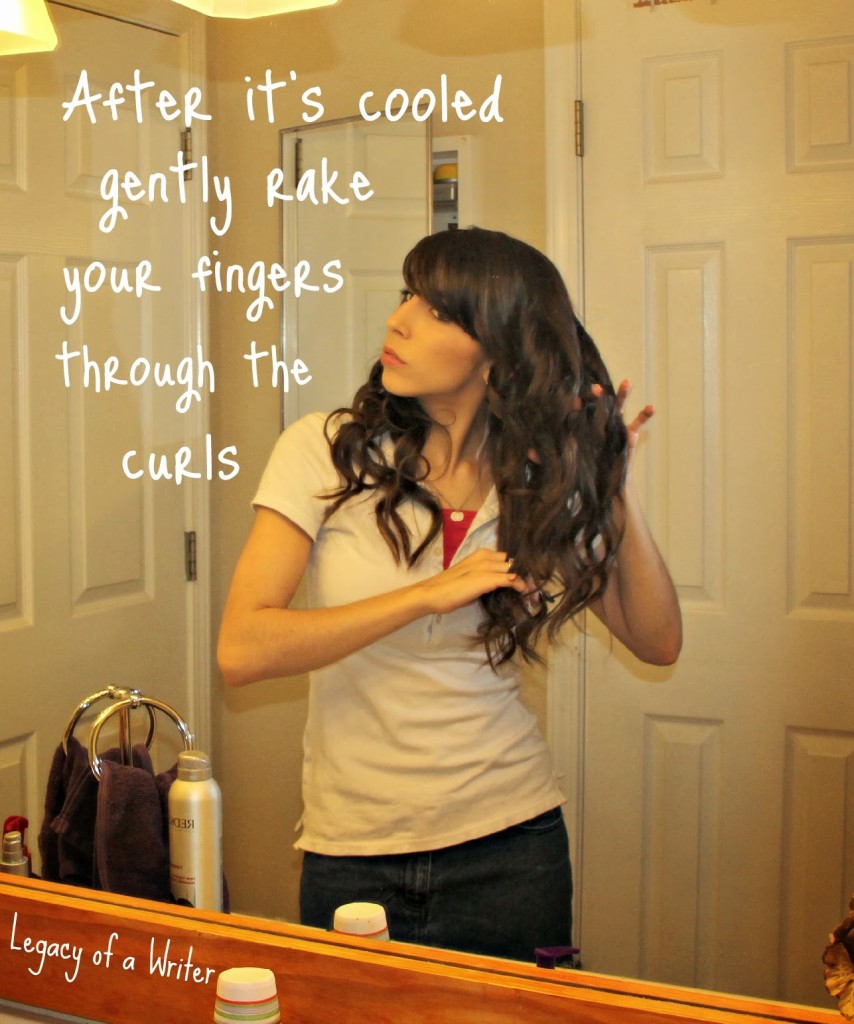
Now, if you like the curls without brushing through them, than totally skip this step! But I like it to look a little less ringlet-y and more just loose, natural curls. So I take my fingers and (very gently) run them through the strands to break them up. I also give my scalp a little massage to help get any lines out.
Step 10: Add Products
 |
| Sorry for the quality of the picture… |
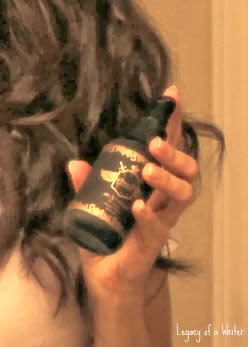
Than I just take one pump of this argan oil (I am not sure where you can buy this specific brand, but there are many brands to choose from at Ulta). to lightly smooth over my hair. It helps to eliminate any frizz that might be going on, as well as adding a beautiful, healthy shine to the curls.
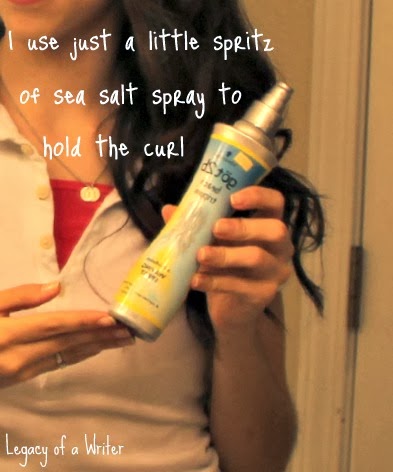
I find that spritzing a bit of sea salt spray into my hair helps seal my curls in place for longer. So I just used this Got2b Beach Trippin Salt Infusion Waving Spray
and then scrunched the curls with a thin towel as a final step.
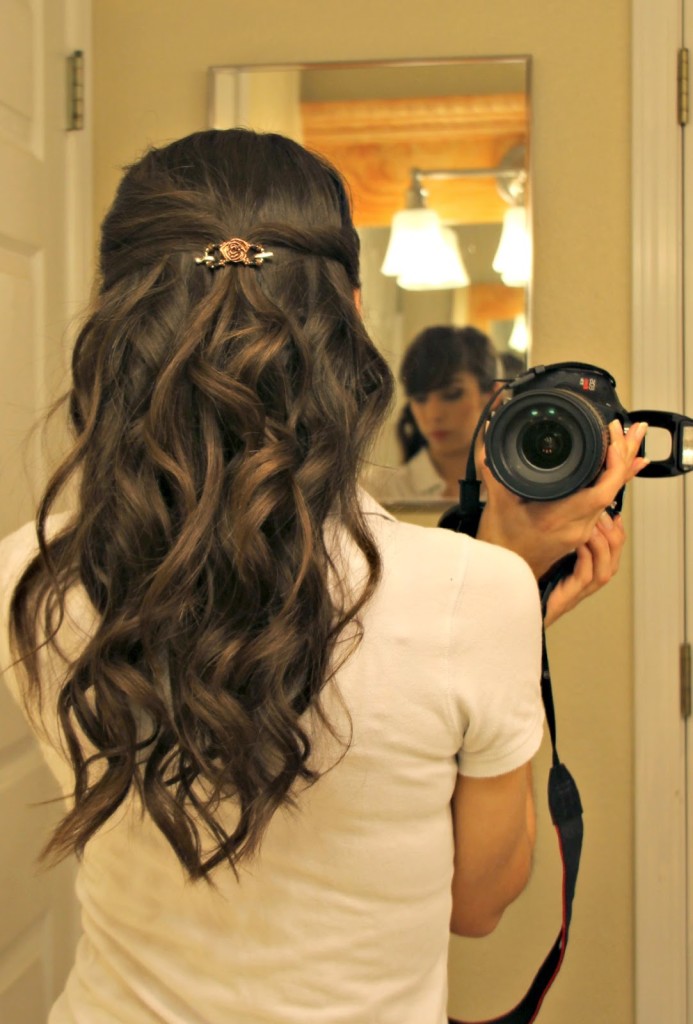
For me, I always have to do an extra step to amp up the curls just a bit more. So for this occasion I twisted two front sections back and clipped them in place with a mini Flexi-Clip. (If you want a tutorial on this extra step, let me know! It’s really easy to change up how you bring the front pieces back, so let me know and I can do a detailed tutorial of how to achieve this look, with a different ‘twist’ to each! 🙂
And there you have it! That’s how I get my stubborn, difficult-to-hold-a-curl hair to keep curls. And even with all those steps, my curls usually don’t last the entire night…but using the NuMe Titan3, it lasted all night and the next day! 😀 Using the right kind of material when making the heating tools really does make a difference.
And another thing I noticed…when I curl my hair, it usually feels really dry after I wash it. Like it’s damaged. But this time, when I used the Titan3, it didn’t feel any different than it normally does. Which is a huge plus for me!
Yes, you read it right — NuMe was kind enough to offer to do a giveaway that will run the entire length of my Hairstyling with NuMe series. 😀 Many, many thanks to NuMe for their generosity!
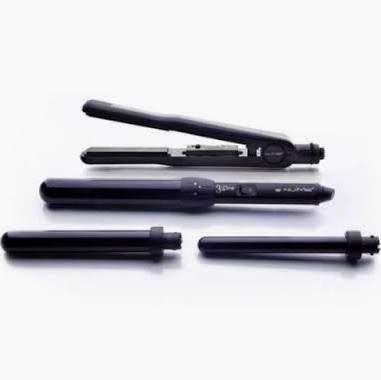 |
| NuMe Curl Jam Set – $280 value!! |
Okay, so what they are offering for today’s giveaway is NuMe’s Curl Jam set in black. This set not only comes with a flat iron, but a wand with 3 interchangeable heads! Whoever win’s this giveaway will be set when it comes to their styling tools! 🙂 This set has a value of $280!
Rules: This giveaway is only open to GFC follower of Legacy of a Writer, so be sure you are a follower! (And with the giveaway being this big a prize, make sure you check back on a regular basis to get those extra entries! :-)This giveaway will run for three weeks, ending on my wedding day — Saturday, April 26th, at midnight.
This giveaway is open INTERNATIONALLY — except for the countries NuMe does not currently ship to, which are: Brazil, Croatia, Czech Republic, Portugal, Poland, Ukraine, Russia, Colombia, New Zealand, Portugal, Morocco, Romania, Spain. Yep, my first big giveaway that’s open to people outside the USA! 🙂
If you can’t wait till April to see if you’ve won, and want to try out one of NuMe’s professional tools now, make sure you use this coupon — NUMESPRING50 — to get 50% off your entire order and free shipping. And if you do purchase through NuMe, I’d be thrilled if you went through one of my links! Any profit I get from affiliations always go right back into the blog to help me continue to bring you great reviews and giveaways. 🙂
