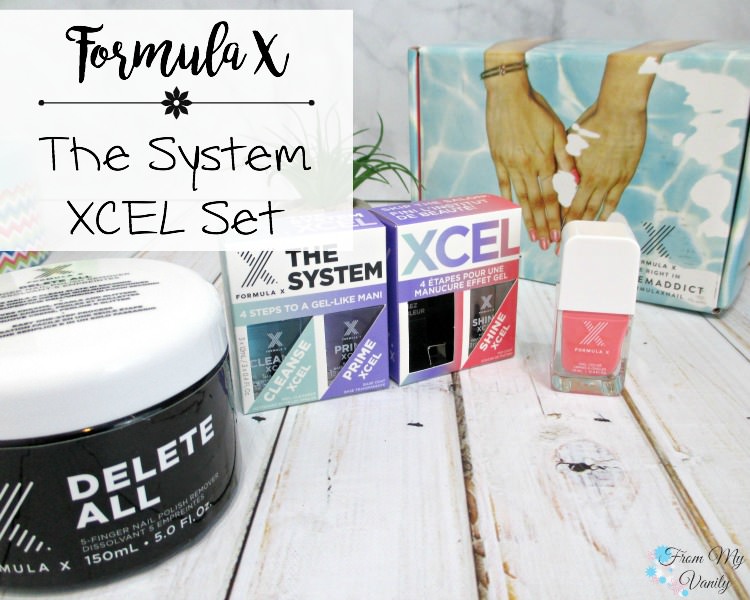
 I purchase the original system from Formula X about two years ago and really liked how it prolonged my manicure. So of course I was intrigued when they revamped and brought out FormulaX’s new The System XCEL set. You can imagine I was pumped when I got an email from Influenster saying I was picked to receive this new set!
FormulaX The System XCEL Set
Retail: $32 | Click for Ingredient List & More Information
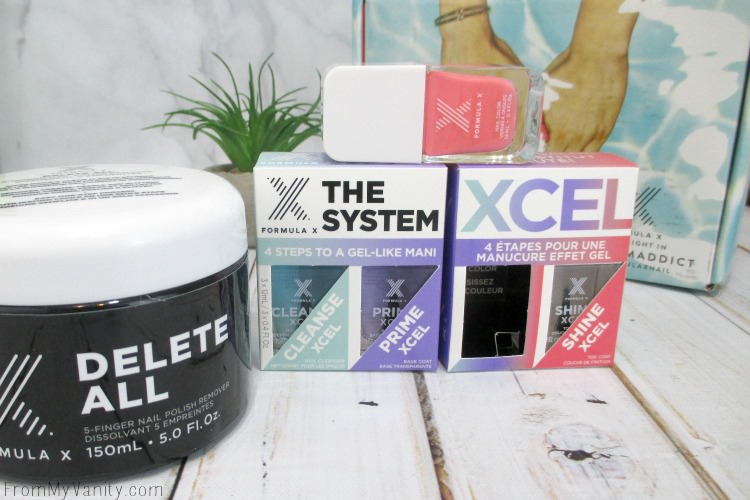 As with the original set, The System XCEL set comes with a cleanser, a primer, your choice of nail polish color, and a top coat. If you divide that all up it comes to $8 a bottle, which is pretty reasonable for a polish from Sephora.
 Step 1: Cleanse XCEL
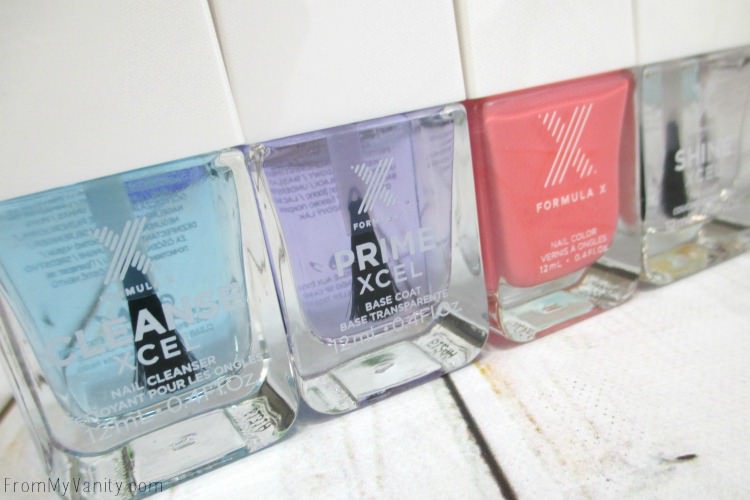
This first step helps to cleanse the nail of any oils, giving you a tighter bond with your polish. The ingredient list is pretty simple and honestly I used to just use acetone over my nail to do the same job. I do think this product helps adhere my polish better, though. But at the same time, I think it dries out my nails more. Also, something odd that I noticed was that every time I used the brush it would split in half. Almost like the cleanser product was drying out the bristles, or something, so that they couldn’t hold together. So, in short, I’ll certainly go through the bottle, but doubt I will repurchase.
Step 2: Prime XCEL
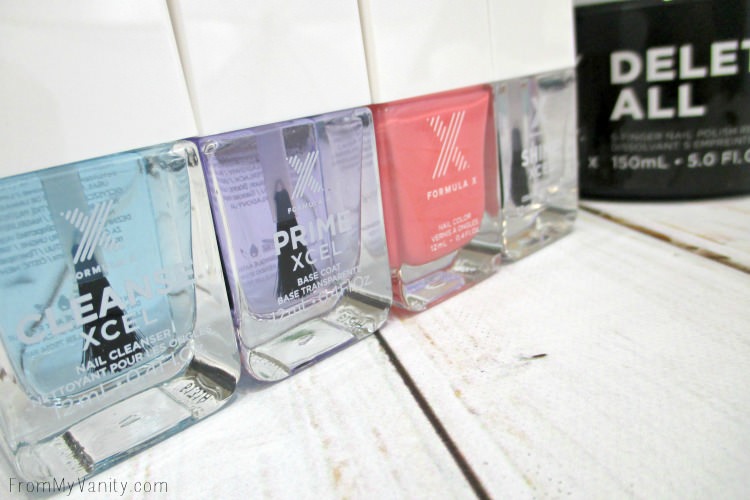
I loved the original Formula X basecoat because it was a sticky base and — I believed — really helped prolong the life of my manicure. This new basecoat from The System XCEL line doesn’t feel as sticky, but there is some stick to it. This applied very nicely and dried very quickly. No issues with this product, and when I need to repurchase a basecoat, I will probably opt for this one!
Step 3: The Colors
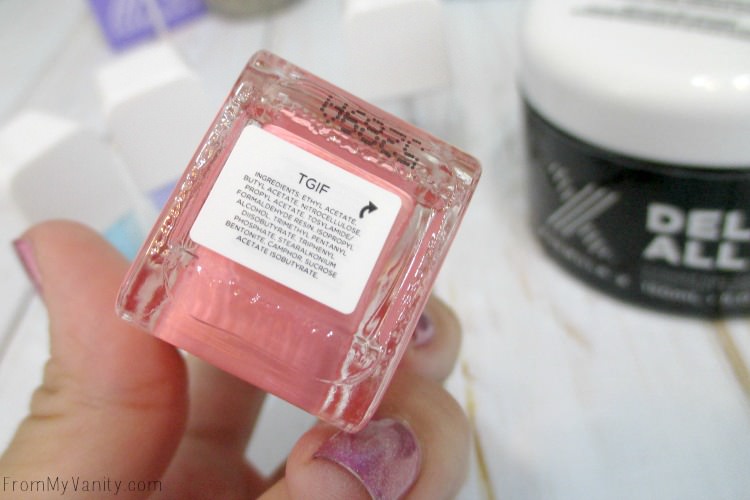
This color is gorgeous! It shows up more neon-ish in real life, but no matter how many pictures I took I couldn’t get it to show up. The brush was pretty skinny, which makes it necessary for me to do more strokes to cover my nails. So that was kind of annoying.
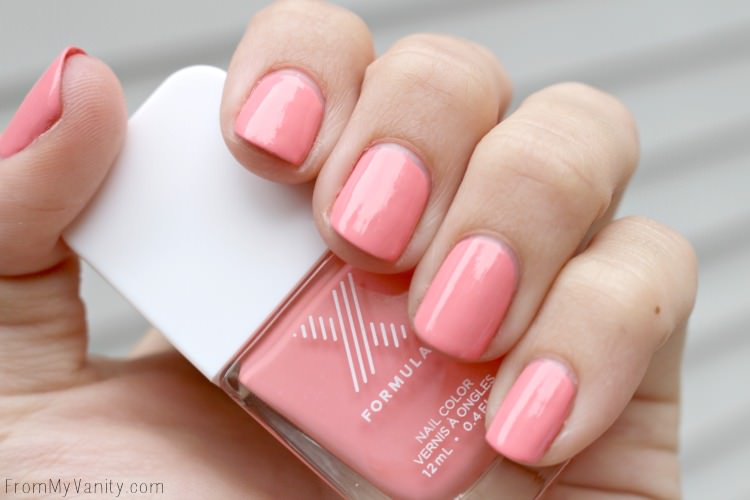 But the thing that really turned me off from this color was the consistency of this nail polish. It was goopy! It was such a pain to work with! I like to apply a nice, even layer for the first coat, and then a slightly thicker layer for the second layer. It just gives me the best manicure. But this nail polish was so thick that I couldn’t do a thin layer. And the second coat was difficult to smooth out the first coat. So…not my favorite. :-/
Step 4: Shine XCEL
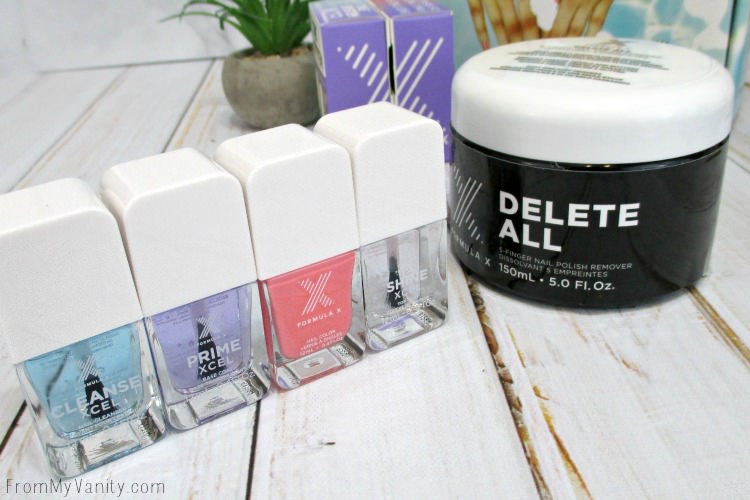
This is a thick top coat, which isn’t exactly a bad thing. If I wasn’t careful with how much I had on my brush, though, I find that I can get air bubbles on my manicure. I personally prefer a thinner topcoat, but I definitely will use up this bottle. It dries pretty quickly, holds up well, and I like it! But for the price, and because it’s not my favorite formula, I won’t repurchase.
DELETE ALL 5 Finger Nail Polish Remover
Retail: $15 | Click for Ingredient List & More Information
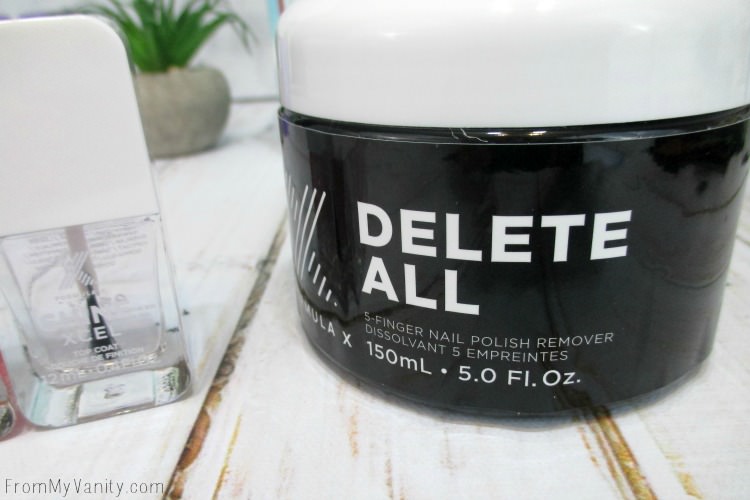 I was really excited to get this product, as I’ve been eyeing it for a while! It just seemed like a dream come true to dunk your fingers in and 5 seconds later have clean nails! So I’ve tested it several times and while it does clean your nails, it takes closer to 20-30 seconds. If you have glitter, even more!
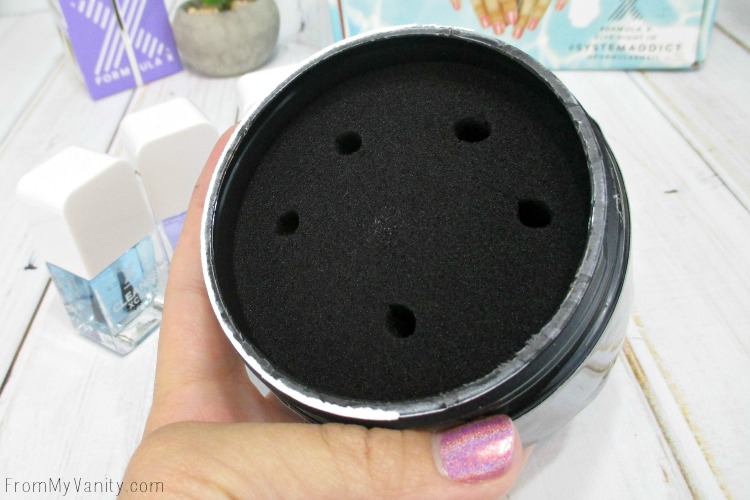 The remover is really strong acetone, I think, because when I take my nails out they look VERY dry. But they do a fantastic job at removing all the polish on one hand in record time. I don’t think I will use this every time I change up my polish (I like to repaint my nails every few days) as I think that would probably hurt them in the longrun. But, I will definitely use it on the days I’m feeling lazy, haha! Will I repurchase? Hmm…maybe…or maybe I’ll just try washing the sponge and pouring more acetone onto it…. 🙂
Have you tried either The System XCEL set or the Delete All remover? I would love to hear your experience! Isn’t that Delete all so neat??
Any questions about my disclosure, read here.  Thank you for your support!
